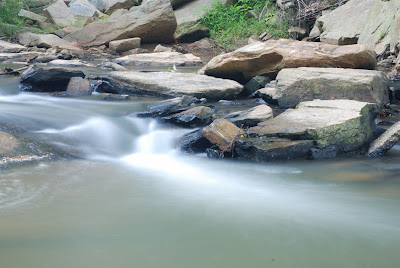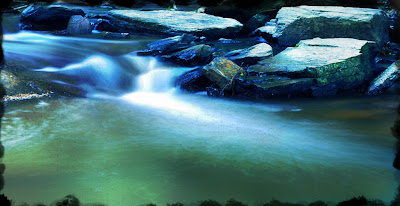
I took this picture this morning at about 7:30. It's a pretty shot, but I was dissapointed. I had decided at about 7:00 to go down to the creek near the house to take a picture of some water as the sun's rays first broke through the trees. unfortunately the sun was not cooperating.
When I got home, I liked the way the water looked, but was not satisfied at all with the colors. So, I opened Photoshop and made a couple of adjustments.
1. Crop
2. Level adjustment with a multiply mask
3. Hue/Saturation adjustment layer +23
4. Color Balance adjustment layer to adust the blue and green tones of the entire picture
5. Color Balance adjustment layer to add blue to the rocks (this requires painting black over the water)
6. Color balance adjustment layer to add more green to the water (this requires painting black over the rocks to hide the color adjustment)
7. Increase the contrast
8. Curves adjustment and then selectively hide some portions for effect
9. Merge all visible layers
10. Copy to a new document with a black canvas
11. Use a chalk brush eraser tool to tear the edges. I did this three times with increasing opacity each time
12. Add filters. I used grain, chrome, and craquele each at about 10-15% opacity.
voi la

I hope you like. If you want to see the finished product in a larger format, go to mattdross.photoblog.com

No comments:
Post a Comment